Opening Thoughts
Hey everyone! I'm a working professional who just moved out on my own. When I lived at home, I never cared about kitchen hygiene, but now that I'm renting and cooking for myself, I've discovered how challenging kitchen maintenance can be! Recently, I've figured out some really effective cleaning techniques, and today I'd like to share my experiences with you.
Honestly, when I first started cleaning my kitchen, it would take forever, and even after all that work, everything still felt greasy - it was so frustrating! But now with these methods, my efficiency has improved significantly, and they're super eco-friendly - a real blessing for renters! Let me tell you, these methods are super cost-effective, using items you already have at home, so you don't need to buy those expensive cleaning products anymore!
Microwave Section
Hey folks! Are you constantly struggling with stubborn grease in your microwave? Especially when porridge boils over, or soup splatters everywhere - it's so annoying! But I recently discovered an amazing method that's both efficient and eco-friendly.
Here's what you do: Cut a lemon into a few slices and put them in a bowl of water. Place this bowl in the microwave and run it on high for two minutes. The lemon steam becomes a grease-fighting superhero! It softens those stubborn stains, making cleaning super easy.
To be honest, I was amazed the first time I tried this method! Grease that used to require endless scrubbing now wipes away effortlessly - it's magical! Plus, the lemony fragrance makes your whole kitchen smell fresh, way better than chemical cleaners. By the way, this works especially well for heavy grease, like when milk boils over or soup splatters on the microwave ceiling.

Cookware Savior
When it comes to the most frustrating kitchen cleaning problems, I think stubborn grease, especially on baking pans, takes the crown! Oh my goodness, I had a baking pan that looked horrific after a few months of use - the grease had practically become one with the pan. Every time I saw it, I wanted to throw it away and buy a new one, but as a penny-pincher, how could I give up so easily?
After repeated experiments, I finally found a super effective method: Prepare a basin of hot water - hot but not scalding - then add dish soap and baking soda. The proportion is important here; I usually use one spoonful of baking soda and an appropriate amount of dish soap per basin of water. Just soak your greasy cookware in there, and magic happens!
Why is it so magical? Because baking soda has incredible grease-breaking properties. Last week, I rescued a blackened baking pan that I was too embarrassed to use anymore. After soaking for half an hour and a light scrub with a sponge, it looked brand new! Looking at that gleaming pan, I could hardly believe my eyes - it looked just like new!
This method isn't just for baking pans; it works great on other greasy kitchen tools too. It's effective for woks, steamers, and even greasy chopstick holders. Most importantly, these materials are readily available at home, so you don't need to spend extra money.
Cutting Board Deodorizing
Speaking of cutting boards, they're really one of the kitchen's problem areas! Especially after cutting onions, ginger, garlic, or raw meat - the smell is incredible, and regular dish soap just won't cut it. I tried many methods before, like scrubbing with salt or using hot water, but they were only moderately effective. But recently, I discovered a super simple yet extremely effective method.
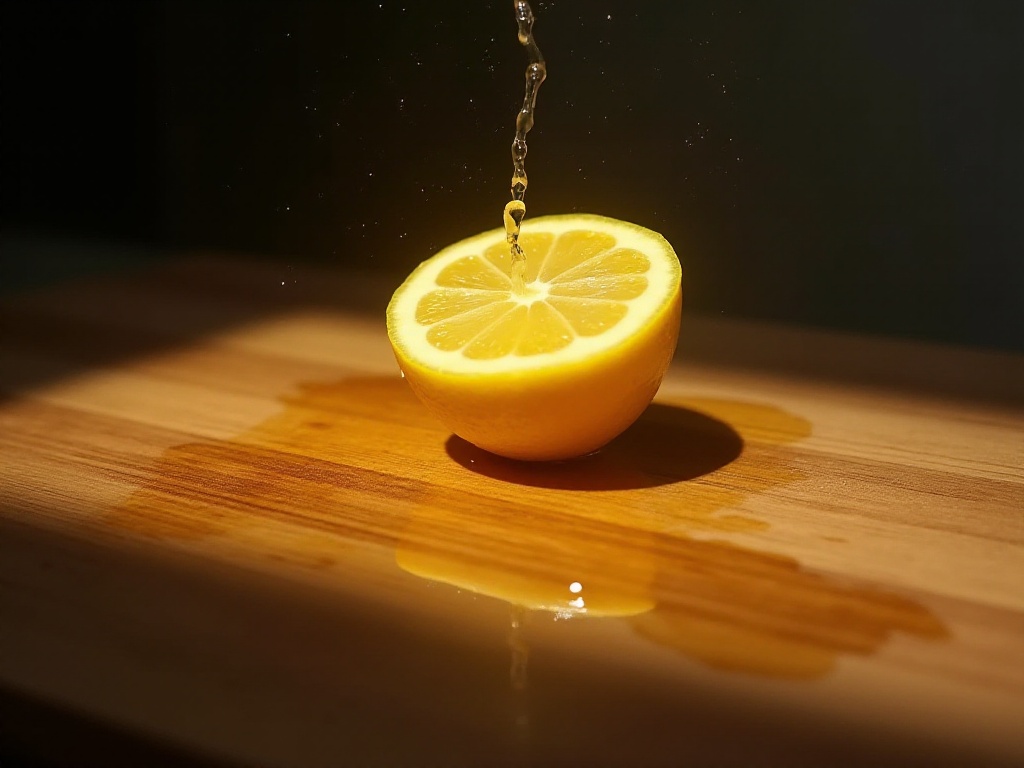
Just cut a lemon in half and rub it directly on the cutting board. Sounds simple, right? But the results are amazing! The citric acid in lemons not only disinfects but also removes various stubborn odors. Now I use this trick every time after cutting strongly-flavored ingredients - it's a real lifesaver for cutting board cleaning!
Remember one time I chopped a bunch of chives - you know how strong that smell can be, right? It was intense, and even after washing several times with regular dish soap, the smell lingered. Then I tried this lemon technique, and the smell disappeared instantly - it was incredible! Plus, the lemon adds a fresh scent, making the whole kitchen smell wonderful.
Here's a tip: If you don't have fresh lemons, lemon juice works too. Though personally, I think fresh lemons work better. Also, it's best to rinse with clean water afterward to prevent the citrus flavor from affecting your next cutting session.

Sink Maintenance
The sink is definitely one of the most bacteria-prone areas in the kitchen, and it's super prone to limescale and grime buildup. I know many people might just use bleach or strong cleaners, but there's really no need to make it that complicated. I have a particularly eco-friendly and cheap method: use white vinegar!
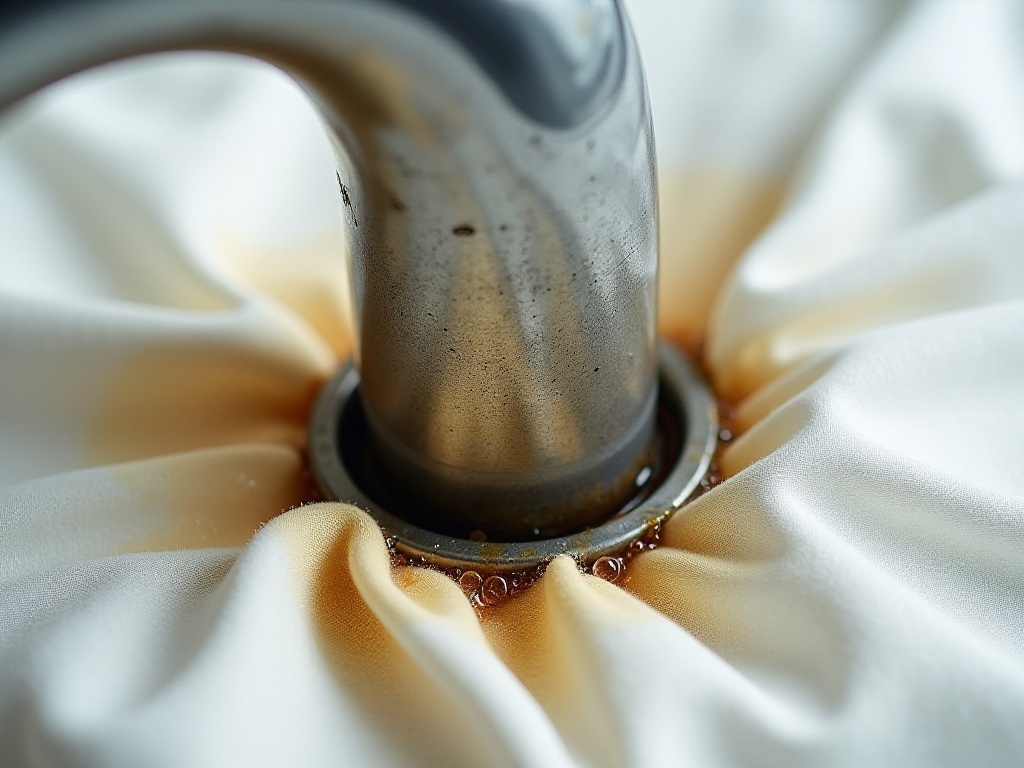
How do you do it? Just pour white vinegar on a cloth or paper towel, then wrap it around the faucet. Wait about ten minutes, and the stubborn limescale will be softened by the acetic acid. Then just wipe it off, and you'll find your faucet sparkling!
I've been doing this weekly for over six months now. The results are really noticeable - my faucet used to have a white layer of limescale that looked terrible. Now using this method, the faucet maintains its new condition. Plus, vinegar is the most eco-friendly cleaner, causing no environmental pollution, so you can use it with peace of mind.
Here's another tip: If your sink drain smells, first pour in half a cup of baking soda, then half a cup of vinegar. They'll react chemically, creating lots of bubbles that can carry away drain grime and eliminate odors. But be careful - this reaction can be quite vigorous, so it's best to turn on the faucet first to prevent foam overflow.
Garbage Disposal
Many people might not know this, but ice cubes are actually amazing for cleaning garbage disposals! I found this method online by chance, and after trying it, I discovered it works incredibly well. Most importantly, this method is simple and cost-effective, requiring no special cleaners.
The specific method is to throw a few ice cubes into the garbage disposal and turn it on. As the ice cubes are crushed, they not only clean internal grime but also help sharpen the blades. For better results, you can add a few lemon peels, which will help deodorize at the same time.
I do this weekly now, and the garbage disposal runs much more smoothly than before. Most importantly, there's no more of that headache-inducing odor. Honestly, this trick is a blessing for renters - it's both economical and effective!
However, I should remind everyone about safety: when using this method, never touch inside the garbage disposal. Also, don't use too many ice cubes - three or four is enough. Too many might affect the disposal's operation.

Refrigerator Maintenance
Honestly, cleaning the refrigerator is really a skilled task. Many people find it particularly troublesome - having to take everything out, wipe it down, and put it all back - just thinking about it feels exhausting. But recently, I've figured out a relatively easy method, which is to spread the cleaning work throughout the week, making it feel less overwhelming.
My suggestion is to spend 15 minutes every weekend specifically checking the items in your fridge. Take out foods that are about to expire for priority use, and wipe down the interior with a mild cleaner. This not only keeps the fridge clean but also prevents food waste. Plus, with regular cleaning, each session doesn't take too long, so it doesn't feel too tiring.
Here's one of my little tricks: I keep a small box of baking soda in the fridge to absorb odors. I also add a few drops of essential oil when wiping it down, so there's a light fragrance when you open the fridge - it's really pleasant.
The most important thing is to develop good habits, like organizing food by category and keeping perishables in visible spots. This makes items easy to access and prevents forgetting about food until it spoils. Now I organize my fridge every time I come back from grocery shopping, and it's really improved my quality of life.
Cabinet Organization
Cabinets might be an area many people tend to overlook, but they actually need regular organization. I learned this the hard way when I discovered some seasonings had expired long ago - such a waste. So now I thoroughly clean my cabinets every three months, checking all seasonings' expiration dates and storing away less frequently used kitchenware.
This cleaning process isn't actually difficult; it mainly requires patience. I usually take everything out and wipe down the cabinet interior. This is also a good time to check for any signs of mold or insects. Then I reorganize everything by frequency of use.
Since I started doing this, my kitchen space feels much more spacious. Plus, I don't have to search everywhere when cooking anymore - efficiency has improved significantly. One reminder for everyone: it's best to label items with expiration dates when putting them back, which makes the next cleaning much easier.

Range Hood Cleaning
When it comes to range hoods, that's truly the biggest challenge in kitchen cleaning! Especially if you love stir-frying like I do, the range hood can easily become greasy. But after some time experimenting, I've found that if you develop good habits, range hood cleaning isn't actually that difficult.
My suggestion is: wipe down the outer surface with a damp cloth after every cooking session - don't wait for grease to accumulate before cleaning. Then make sure to remove and clean the filter once a month. I know many people find it troublesome, but if you don't clean it regularly, the consequences can be really serious.
I learned this the hard way - I was lazy and didn't thoroughly clean the range hood for several months. Then one day I noticed the ventilation was really poor, and when I opened it up, the grease had formed solid chunks! That cleaning session was exhausting - it took me an entire afternoon to get it clean. So I really recommend everyone develop regular cleaning habits.
Here's a tip for cleaning the filter: soak it in hot water with dish soap and baking soda - this makes the grease easier to clean. If it's really dirty, you can use specialized range hood cleaner, but make sure to ventilate well.

Storage Tips
Good storage habits can really make cleaning work twice as effective! I now keep all my cleaning tools in the cabinet under the sink, so they're easy to grab when needed. I also separate different cleaning tools by category, like keeping glass cleaners and countertop cleaners separate.
Seasoning storage is also important - I now organize them by frequency of use. The most commonly used items like salt and soy sauce are placed in the most accessible spots, with less frequently used items in the back. This not only makes them easy to access but also helps prevent seasonings from expiring.
I've also labeled each seasoning with its opening date and expiration date. This prevents the awkward situation of discovering something has expired while using it. Plus, the labels help me better plan my purchases and avoid buying duplicates.
Final Thoughts
With these methods, I've reduced my kitchen cleaning time from two hours to about 45 minutes. The key is developing the habit of cleaning as you go, which prevents too much buildup. All these methods are tried and tested by me - they really work well!
Finally, I want to say that cleaning products should be used moderately - use natural materials when possible. After all, the kitchen is where food is prepared, so safety and hygiene are particularly important. Plus, many natural cleaning materials like vinegar, lemon, and baking soda work just as well as chemical cleaners, while being more eco-friendly and economical.
I hope these experiences I've shared can help everyone. If you have any good cleaning tips too, feel free to tell me in the comments! Let's work together to make our kitchens clean and tidy cooking spaces!


